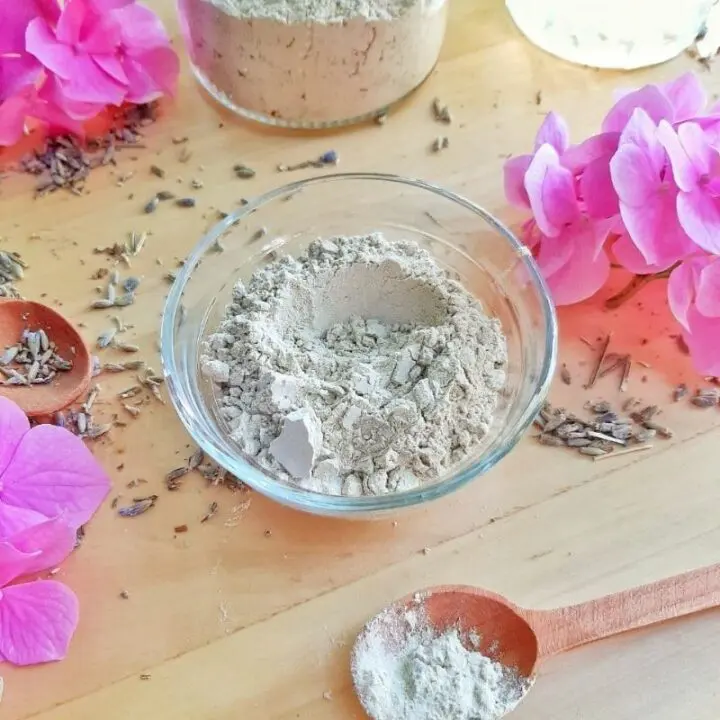
Say goodbye to acne and blemish-prone skin with this bentonite clay face mask recipe! The bentonite clay helps gently draw gunk trapped within the pores plus absorbs excess oil. It also provides the skin with essential minerals. The bentonite clay face mask works wonders by drawing dirt and excess oil from pores and balancing the skin’s pH.
If you like my beauty recipes, join my Facebook group 🎉 This is the best place for broader DIY beauty stuff, behind-the-scenes, what I’m working on in real-time, and more!
💡 Do you dream of a perfect skincare routine (and products) but feel it’s impossible since your budget is limited? Grab the recipes I’m using to craft 100% natural DIY beauty products that give top beauty brands a run for their money! ❤️ HOMEMADE BEAUTY MADE SIMPLE ❤️
Don’t forget to pin this bentonite clay face mask!
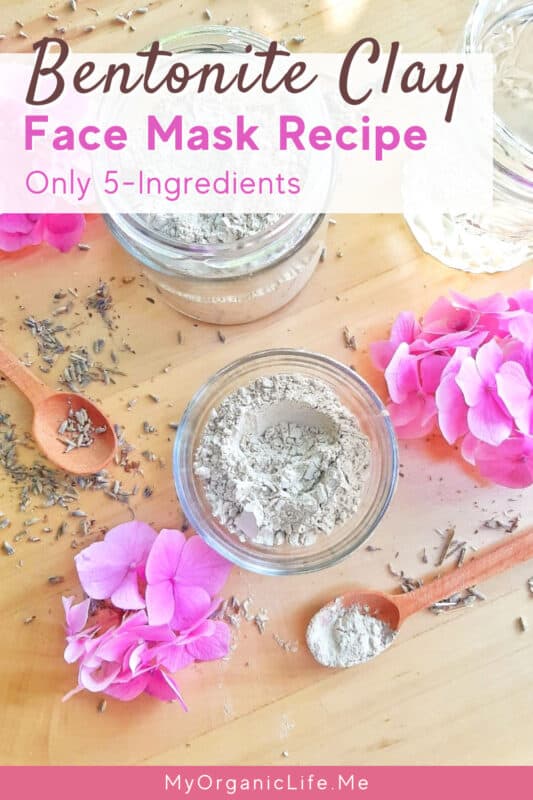
DIY Bentonite Clay Mask
I LOVE making natural skincare at home. You can choose exactly what goes into your product and customize the formula for your individual skin care needs.
Take this DIY bentonite clay mask, for example. The benefits of Bentonite Clay Mask for the skin are pretty amazing. It helps draw toxins out of the skin, exfoliates, softens, and seems to lessen the appearance of current breakouts by removing some of the redness.
This bentonite clay mask will replenish your skin with natural ingredients that will make your complexion radiant and oh-so glowing. Enjoy!
Benefits of Bentonite Clay Face Mask
Excited to make your own bentonite clay mask for the face? Me too! But first, let’s find out what this homemade bentonite clay face mask can do for your skin. Here’s a quick overview of the potential bentonite clay mask benefits:
Cleansing: Bentonite clay can aid in clearing oil and dirt from clogged pores.
Antioxidant: Detox your skin from chemicals and heavy metals. (your initial reaction might be there’s none of that on your skin, but think about the pollution in the air and the chemicals in your makeup)
Soothing: The anti-inflammatory properties in bentonite clay calm skin irritation, redness, and puffiness. Bentonite clay mask can even help to soothe acne and blemishes.
Astringent: Bentonite clay has astringent properties that reduce the appearance of large pores, making the skin look smoother, and the appearance of acne scarring
Softening: The extra moisture will make your skin feel softer and moisturized. Bentonite clay also balances the overall complexion.
Balancing: Bentonite clay can balance the skin’s natural oils and sebum, helping you achieve a refreshed appearance. Absorb excess oily and aid in ongoing sebum production.
These skincare qualities can be attributed to bentonite clay’s main components, which are calcium, magnesium, silica, sodium, potassium, and iron.
Bentonite Clay Face Mask Ingredients
I love making my own face masks at home. You can customize the mask recipe to meet your skincare needs. And it’s also so easy to do. You need a few ingredients that you may not have in your collection yet. But the good news is that some of them are optional. You can omit them and still create an excellent bentonite clay face mask.
Materials for homemade bentonite clay mask
Bentonite clay is the main component in this homemade face mask recipe. It has been used for natural skincare and remedies for many, many decades. Bentonite clay can benefit people that suffer from eczema, psoriasis, and other skin rashes.
Bentonite clay can be used topically on the skin, taken internally, or mixed into a bath. Consult with your doctor to find the best way to add this super nutrient-dense clay into your routine.
Apple Cider Vinegar helps bring the skin’s pH back into balance.
Apple cider vinegar can be used as a spot treatment for blemishes, tighten the skin, and improve skin tone. It can also exfoliate the skin and promote cellular regeneration, which will help in removing dead skin cells and reduce pores.
If you don’t already have apple cider vinegar on hand and need to pick some up (it’s super inexpensive), finding one that is 100% natural and NOT made with apple juice concentrates will give you the best results.
I personally use it almost every day as it is in my favorite green tea face toner.
NOTE: Never use apple cider vinegar undiluted on the skin! It should always be diluted in water.
Essential Oils
There are so many essential oils that you can use to improve the skin. Three of my favorites are lavender, frankincense, and tea tree.
Tea Tree Essential Oil: the anti-inflammatory effect of tea tree oil helps to soothe and relieve painful and irritated skin. It may also help to reduce redness and swelling.
Using tea tree oil for the skin can offer several benefits. For example, it may help treat certain skin conditions, including acne, itching, and oily skin.
Studies have found that tea tree essential oil is extremely beneficial for acne-prone skin as it’s anti-bacterial and anti-inflammatory.
Tea trees benefit from “fungal acne” or Malassezia folliculitis (source).
Lavender Essential Oil: this can clear your pores and cleanse the skin. It possesses antibacterial components that can kill acne-forming bacteria.
Lavender oil can benefit the skin in numerous ways. It has the ability to lessen acne, help lighten skin, and reduce wrinkles.
Frankincense Essential Oil: When used as an ingredient in skincare products, frankincense essential oil is said to treat dry skin and reduce the appearance of wrinkles, age spots, and scars.
It is one of the best oils to help skin feel and look rejuvenated.
Yarrow pom rose, and myrrh is great essential oils for anti-aging.
For this recipe, I will add a few drops of tea tree essential oil to make the face mask that much better for the skin.
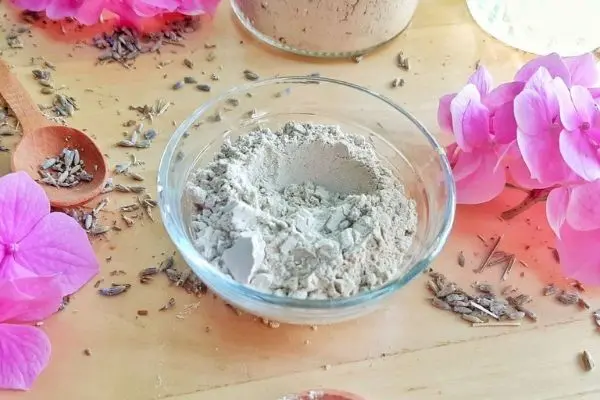
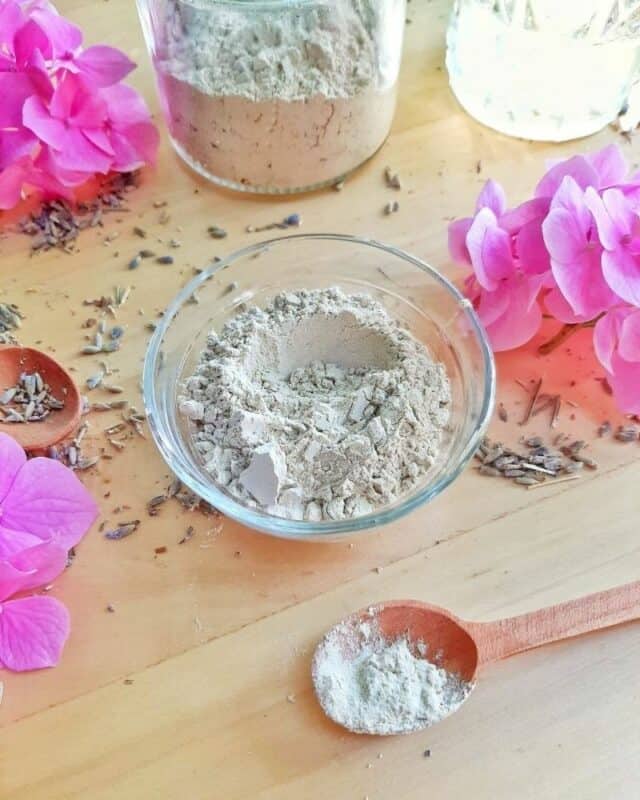
How to Make Bentonite Clay Face Mask
Ingredients:
- 2 tbsp bentonite clay
- 2-3 tbsp water
- 1 tsp apple cider vinegar
- 2-3 drops of essential oils
Instructions:
Combine the bentonite clay, vinegar, essential oils, and water. (Please do not use a metal utensil or bowl when working with bentonite clay.) Apply to the face for 10-15 minutes. To remove the mask, wash your face with warm water and a washcloth.
NOTES:
Don’t let bentonite clay come into contact with metal. It will start to pull toxins from the metal and won’t be as effective on your skin.
Take care when washing it off in the sink. It is, after all, made with mud (aka clay). Ensure you run hot water to flush out your drains after washing them off to avoid a clog.
It’s reported that calcium bentonite clay is the best choice for skin masks. This is the bentonite clay I use.
More DIY Facial Recipes
How to Make Face Cream Tutorial
Face Moisturizer for Aging Skin
How to Apply Clay Face Mask
I highly recommend using a bentonite clay mask at night up to three times a week.
Apply the mask all over your face in a thin layer about 1⁄4 in (0.64 cm) thick. Use your hands to smooth the paste onto your skin, rubbing your fingers in small circles to spread it out. Avoid the eye and mouth area as the mask should not be eaten and can sting your eyes.
Since this recipe incorporates apple cider vinegar, applying it too often can end up a little drying depending on your skin type.
Don’t vigorously scrub the mask as you rub. This could irritate your skin. Just pat it onto your face or use light pressure.
You can apply it 2 to 3 times a week, then gradually increase the frequency.
How to Remove a Clay Mask
You don’t have to wait for the clay to be completely dry before you rinse it off. 10 minutes is enough time, even if there are still damp spots.
If, for any reason, your skin starts stinging or feels irritated, rinse the mask off immediately.
Pat your face dry with a clean towel after rinsing it.

Bentonite Clay Face Mask Recipe
Say goodbye to acne and blemish-prone skin with this bentonite clay face mask recipe! The bentonite clay helps gently draw gunk trapped within the pores, plus absorbs excess oil. It also provides the skin with essential minerals
Ingredients
- 2 Tbsp Bentonite Clay
- 3-4 Tbsp Water
- 1 tsp Apple Cider Vinegar
- 5 drops of Tea Tree Essential Oil
Instructions
Combine the bentonite clay, honey, and water. (Please do not use a metal utensil or bowl when working with bentonite clay.) Apply to the face for 10-15 minutes. To remove the mask, wash your face with warm water and a washcloth.
Notes
Don't let the bentonite clay come into contact with metal. It will start to pull toxins from the metal and won't be as effective on your skin.
Take care when washing it off in the sink. It is after all made with mud (aka clay). Make sure you run hot water to flush out your drains after washing them off to avoid a clog.
It's reported that calcium bentonite clay is the best choice for the skin mask. This is the bentonite clay I use.
FAQ
Can I Use Bentonite Clay every day on my Face?
Bentonite clay is great for oily skin types.
Since bentonite clay helps absorb excess sebum, people with oily and acne-prone skin types can use the ingredient almost every day. However, if you’ve got dry-ish or sensitive skin, keep your uses to a minimum (think once or twice weekly).
How long do you leave bentonite clay on your face?
Leave on for 5 to 20 minutes. As it dries, your skin will begin to feel sort of tingly, and it might feel tight, especially when you smile. Rinse off with warm water. Don’t be alarmed if your skin is red after washing it off. It will fade after a few minutes.
The first few times I made the mask, I left it on for about 10 minutes, gradually increasing to twenty minutes. I started applying it once a week but now use it three times a week.
How to choose a clay that’s right for you
For best results, it’s important to use quality clays. Quality clays are pure (free of contamination, with no coloring or other additives), and they’re processed in a way that maintains their mineral content. There are a variety of clays, each with its own special strength. Here are some options:
Bentonite Clay Powder
This clay is uniquely composed and can absorb “negatively charged” toxins. People have been using calcium bentonite clay for centuries as a way to detoxify the body, improve digestion, improve skin tone, and more.
French Green Clay Powder
French green clay is beneficial in removing impurities and tightening the pores, toning the skin, exfoliating dead skin cells, and reducing inflammation in acne. It can also be used as a full-body treatment to soften dry, rough skin.
French Red Clay Powder
French Red Clay cleanses, detoxifies, and exfoliates the skin, leaving it refreshed, toned, and rejuvenated. It is most widely used in cosmetic manufacturing.
French White Clay Powder
French white clay powder is the gentlest of the clays, cleansing, soothing, and softening. Less absorbent than other clays, white clay is suitable for normal and sensitive skins. French white clay powder is also used as a deodorant powder and an alternative to talc powder.
Kaolin Clay Powder
Kaolin clay is known for absorbing excess oils or sebum from the skin’s surface and gently exfoliating the skin. It also effectively removes pore-clogging contaminants such as dust, dirt, and dead skin that can accumulate on the skin’s surface.
I have to say, this DIY acne mask felt great on my skin. I almost felt the dirt and oil being sucked out of my pores like a sponge thanks to this absorbent and healing clay. Over time I have found that my blemishes have begun to disappear, and the texture and tone of my skin have improved. I use this homemade acne mask on my skin about twice weekly for the best results.
This looks so good! What a great gift to make for friends or enjoy yourself!
Thanks for sharing! How far ahead of time can I make it?
Better use it once you make it. Don’t let it stay more than a day.
Thank you so much!